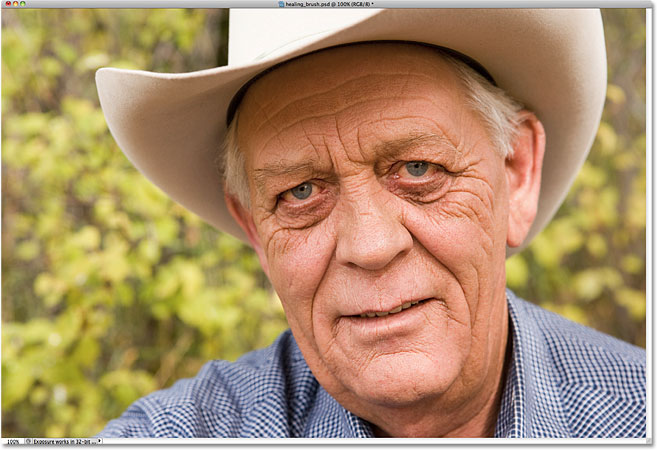
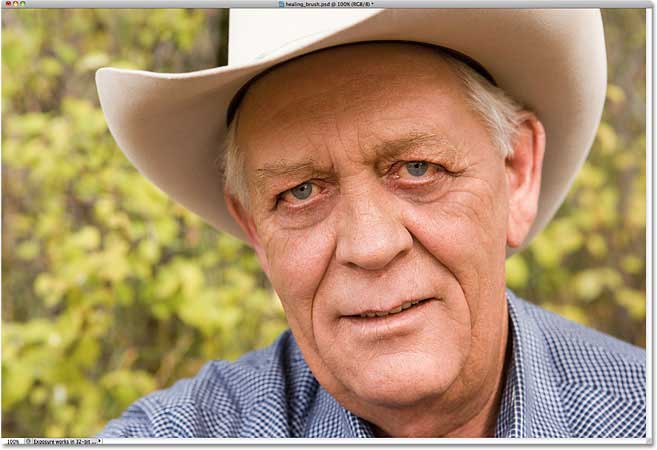
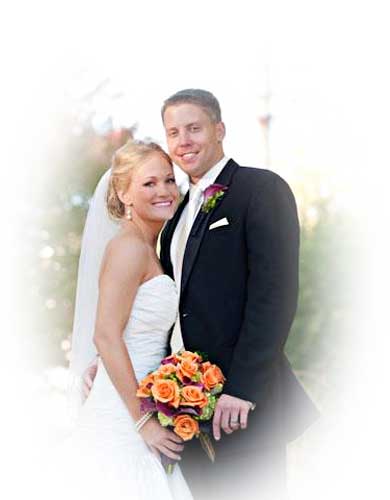
Remove Wrinkles
I created this selection by holding down Alt and selecting an area that was fine and didn't have any wrinkles. Then I move the mouse over the area with the wrinkles . I clicked on the wrinkles and it blended the good area with the wrinkled area. Then I changed the opacity to make the wrinkles more realistic. The advantage of this technique is that it blends the area around it with wrinkled area and makes the photoshop look realistic. The disadvantage of this technique is that if there is no clean area than it becomes difficult to edit the wrinkles.

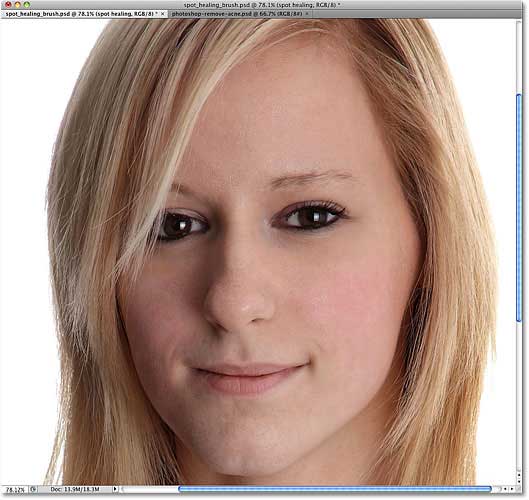
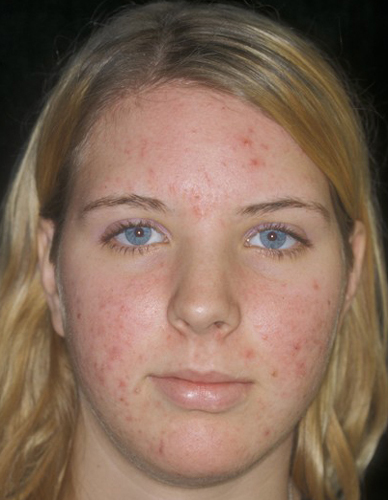
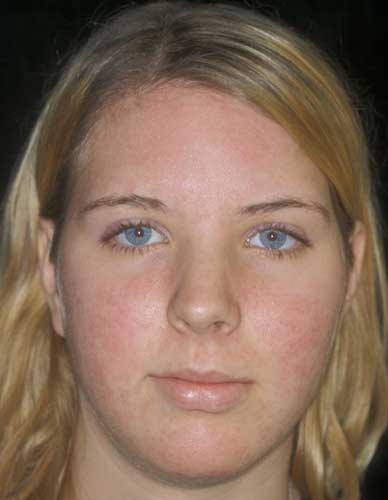
Remove Blemishes
To remove the blemishes from the face, I selected the spot healing brush and moved it over the blemish. Next, I adjusted the size of brush so that it's slightly larger than the blemish and click. Photoshop, then blends the blemish with area surrounding it that will create an area with similar brightness and color. The advantage of this tool is that it can easily remove blemishes quickly. The disadvantage of the spot healing brush is that it is better to remove blemishes and not larger areas, such as wrinkles.

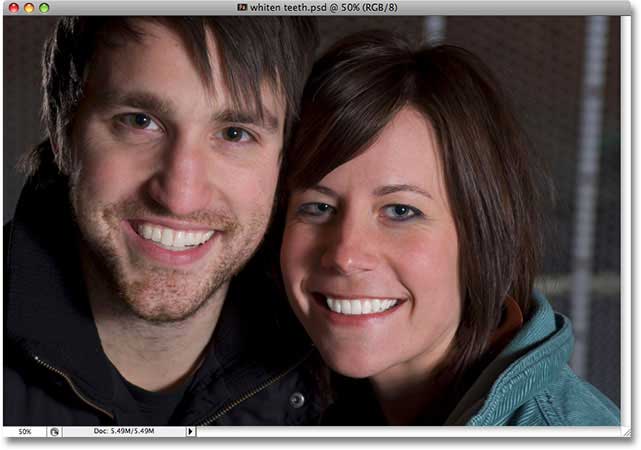
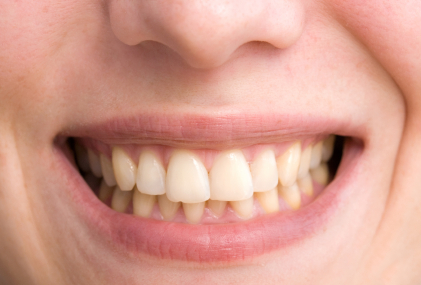
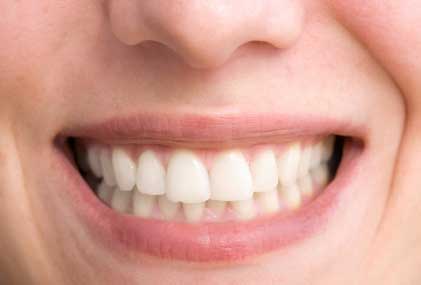
Whiten Teeth
To whiten a person's teeth, I first selected the lasso tool and traced a path around mouth making sure that all the teeth are within the selected area. Next I clicked on Hue/Saturation and yellow mode moved the saturation all the way to 0. Then, I clicked on Fill and set it to black and then used a brush to lighten only the teeth with the layer mask. The advantage of this technique is that it is really easy to lighten and brighten teeth. The disadvantage of this tool is that it could brighten the areas around the teeth or make it unrealistically bright.

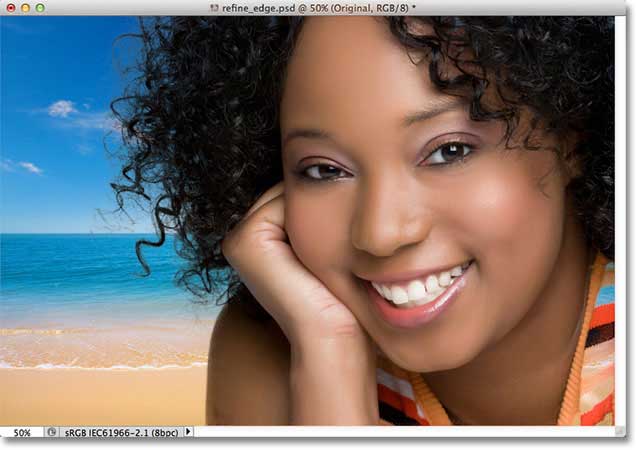
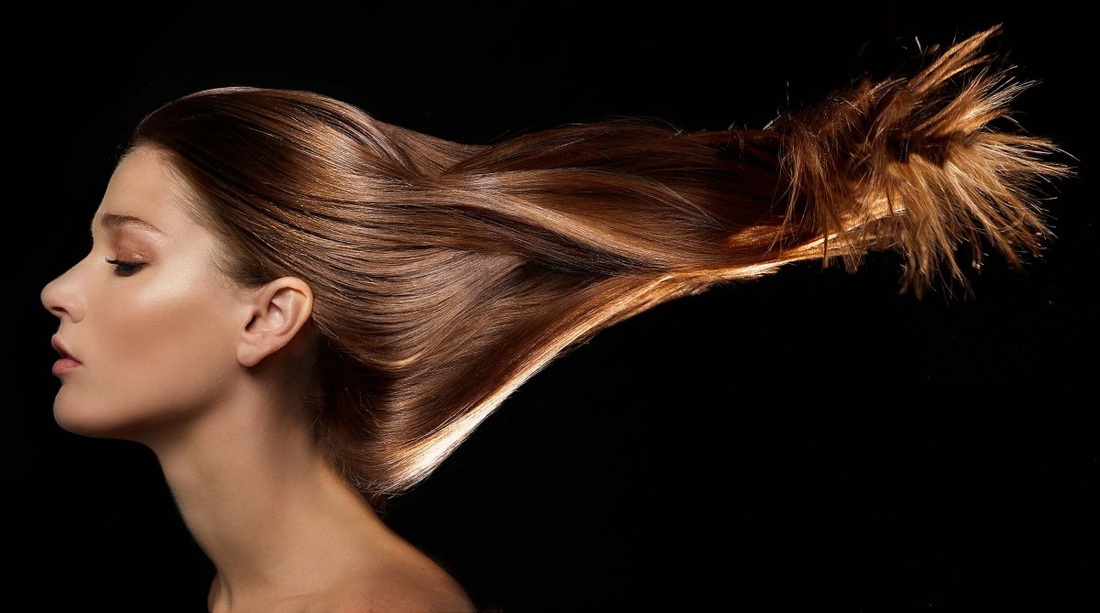
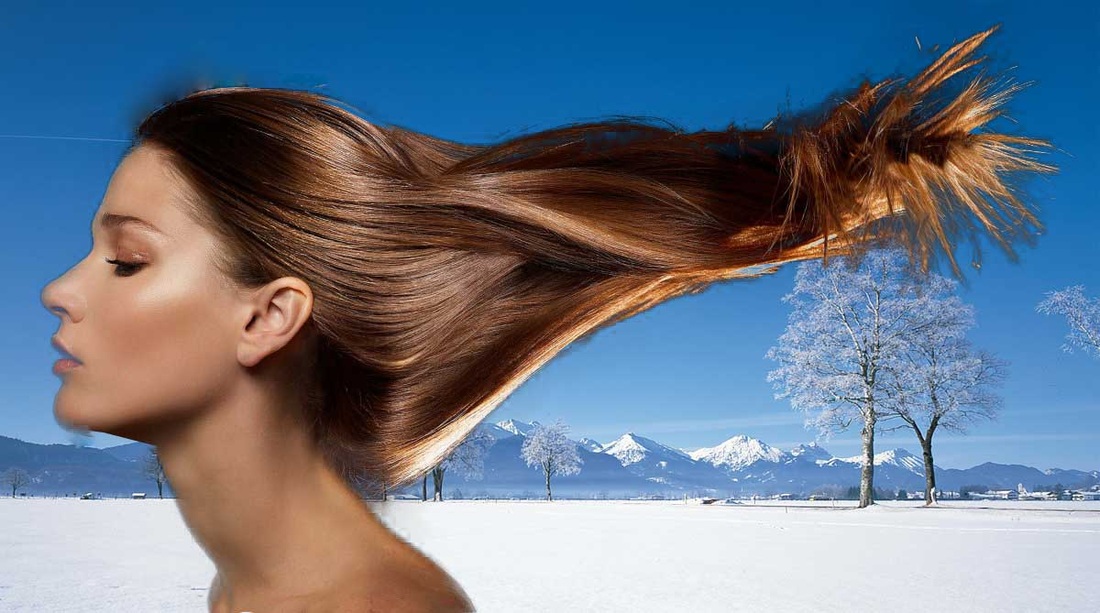
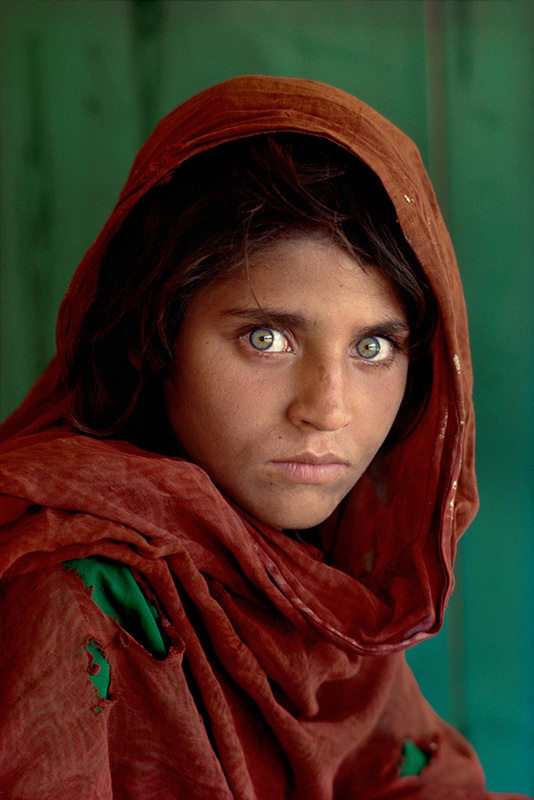
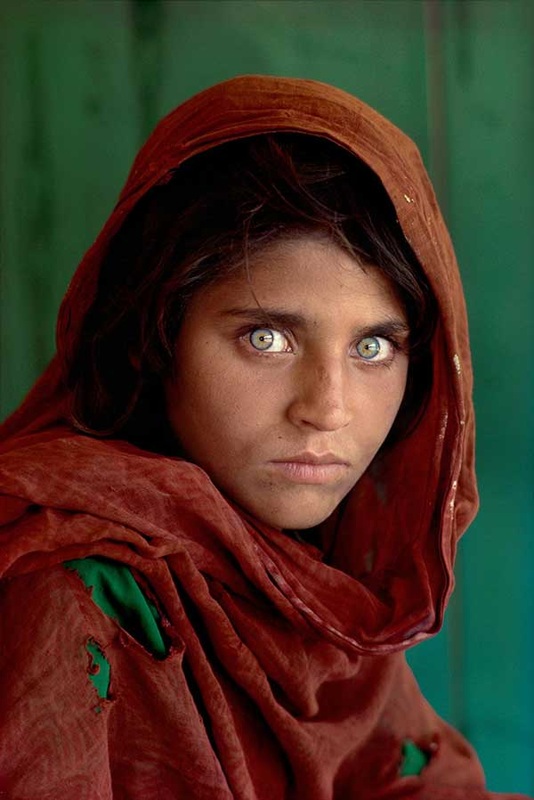
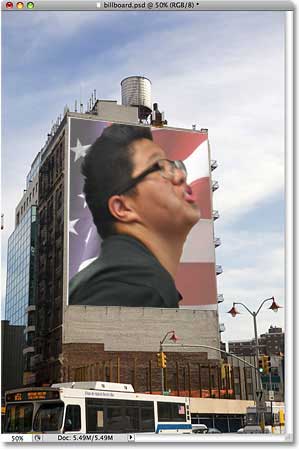
Selecting Hair
I begin selecting the hair by using the polygonal lasso tool and selecting the subject and areas of hair where the background can't be seen and then I click refine edge. In refine edge mode I click on smart radius and reveal layer so that the new background below the original will appear. Finally I click and drag around the areas of hair not selected in the original image. This will reveal more of hair. The advantage of this technique is that it can select almost all of the hair and place it on a new background. The disadvantage of this technique is that it is very confusing and be very difficult to produce quality images.

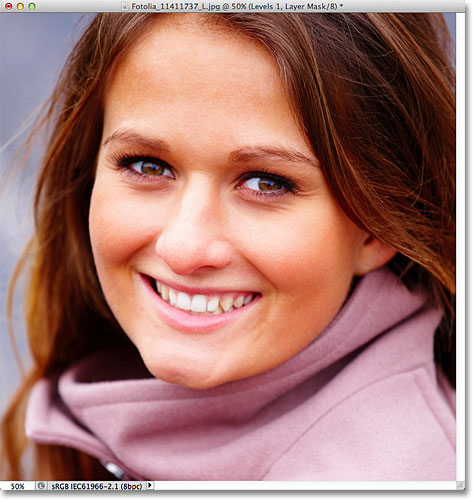
Lightening Eyes
To lighten someone's eye on a face, I select new adjustment at the bottom of photoshop and click on the levels mode. Next I select Edit Fill and click on black so that not the whole image brightened. Finally, I use a brush and layer mask to brighten the eyes only. The advantage of this selection is that it is very easy to the eyes. The disadvantage of this technique is that it could make the eyes unrealistically bright or seem washed out.

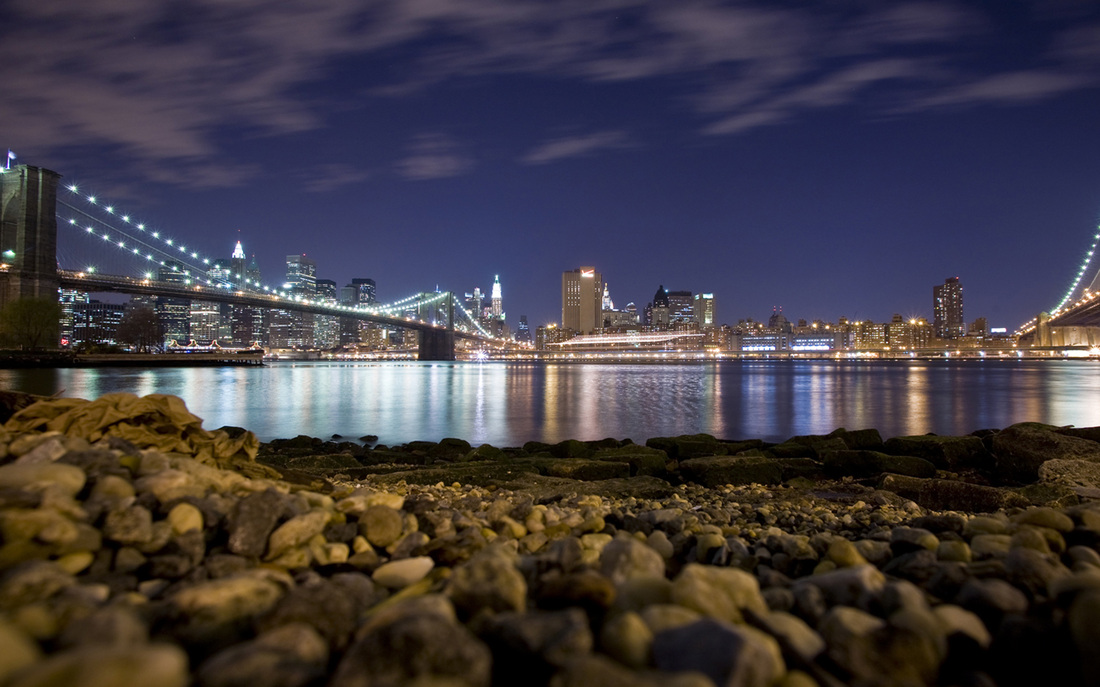
Rectangular Marquee Tool

I created the selection with the rectangular marquee tool by starting at the upper left hand corner of the image and hold and drag the mouse diagonally to the lower right hand corner. The advantages is that it can quickly select a rectangular image. The disadvantage is that it may become difficult to accurately select the entire shape.It also couldn't be use to select rounded shapes.
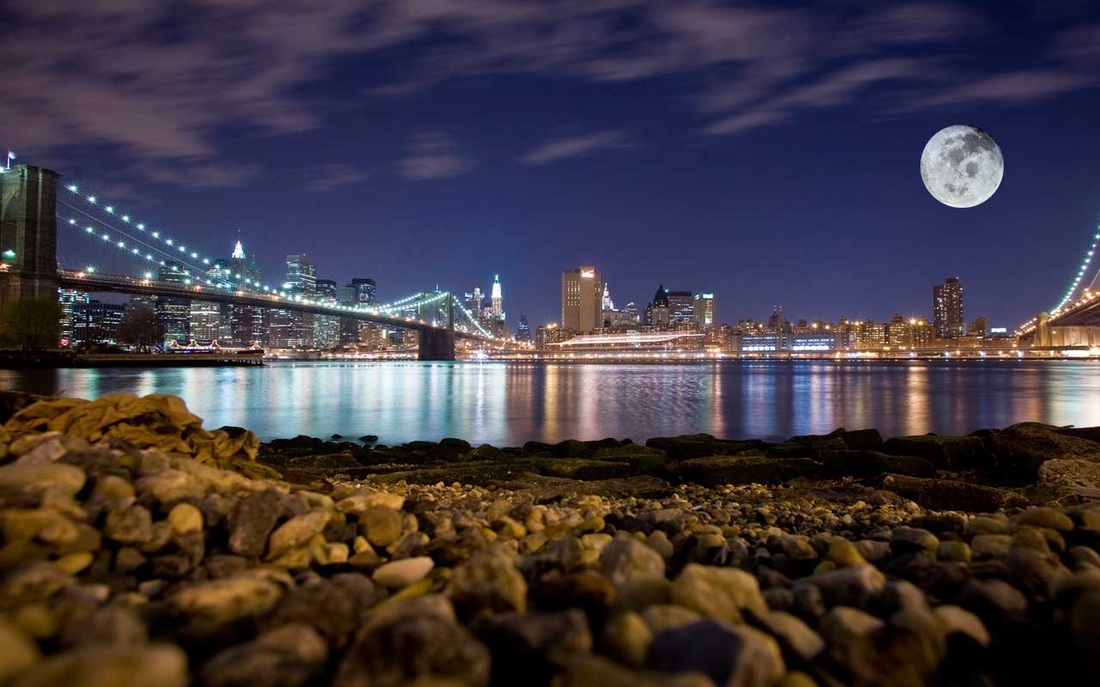
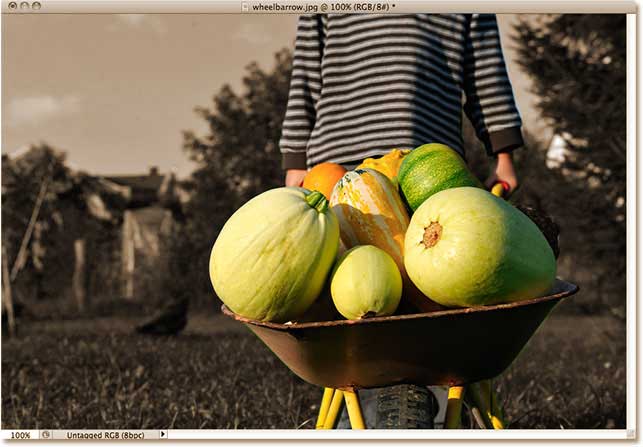
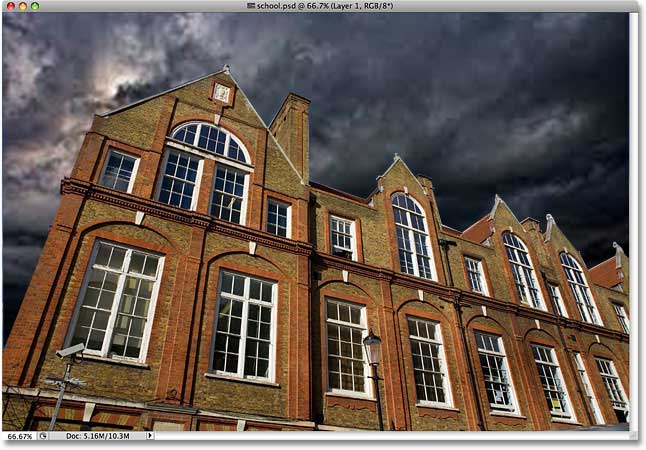
Elliptical Marquee Tool
I created the selection with the elliptical marquee tool by starting in the upper left hand corner and dragging it towards the bottom right hand corner. To make a selection on a circular image I would have to set the settings to fixed ratio which would keep it at a 1:1 ratio. The advantages is that the elliptical marquee can quickly create an oval selection around the image. The disadvantages is that the elliptical marquee tool can be challenging to select circular images as you have try multiple times to get the selection around the circle and you don't where the selection is going to start. It took me multiple times to try and select the moon and when I did it left a piece cut off on the upper left hand corner.
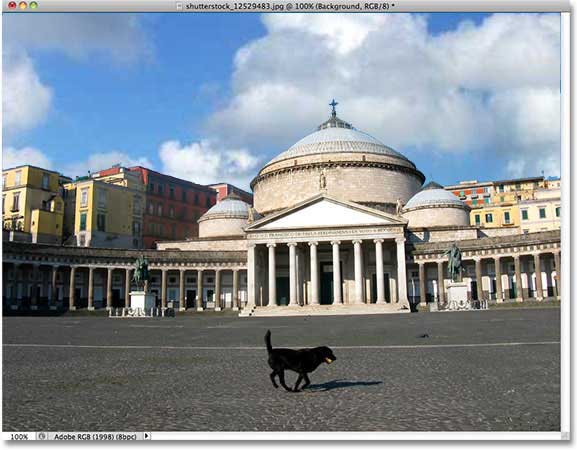
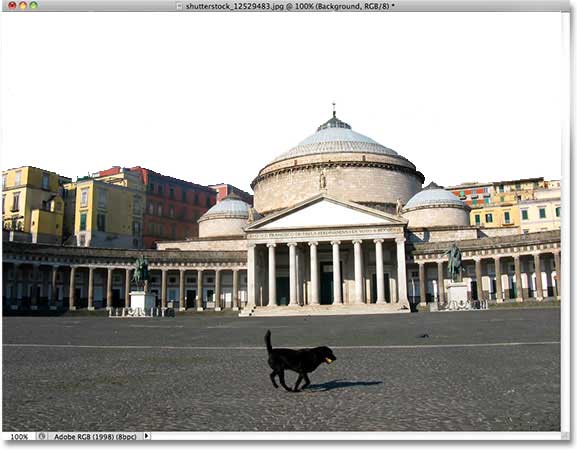
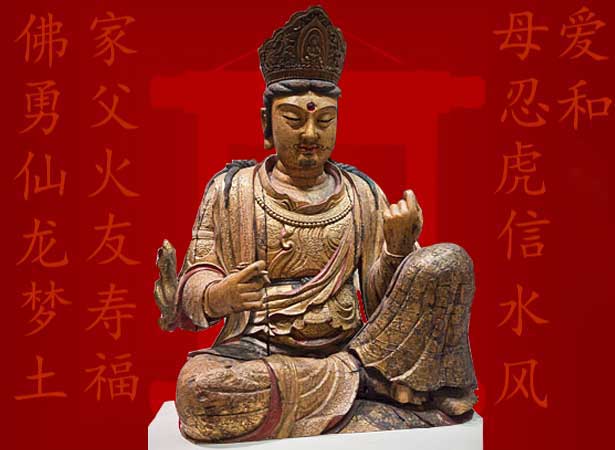
Magic Wand Tool
I created the selection with the magic wand tool by clicking on the open space of the area that I want to select. I then move my mouse close to the edge of the area I want to select and then click. To add to the selection I hold down the Shift key and click on that area. If I go over the edge, than I hold down Alt and click on the unwanted area to remove it from the selection. The advantage is that is very easy and fast to make a selection on open space. The disadvantage is that it can become difficult to make selections on small enclosed areas.
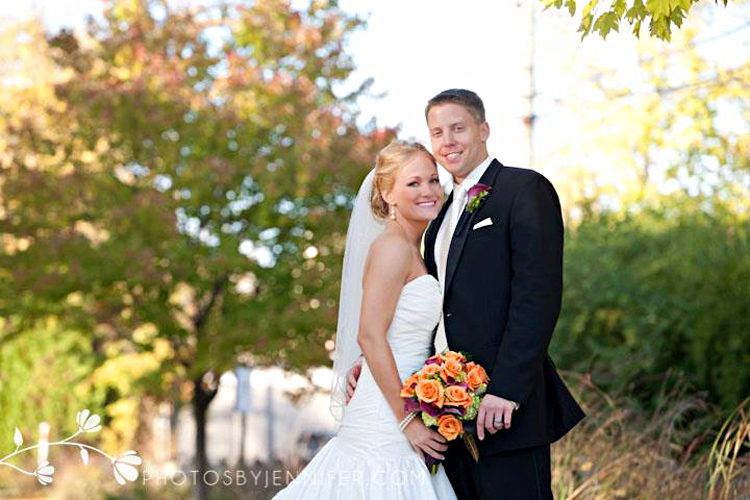
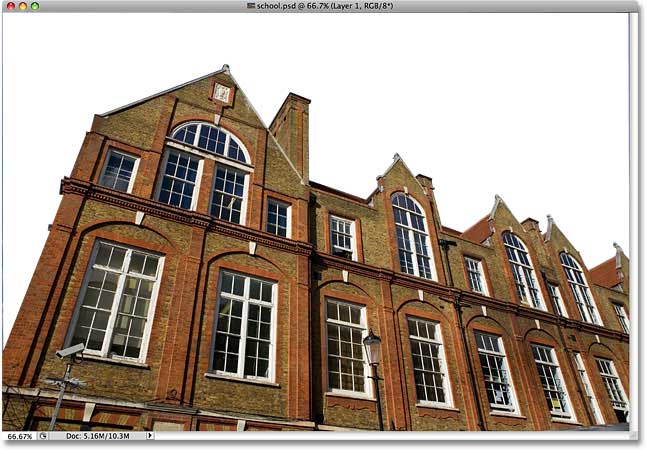
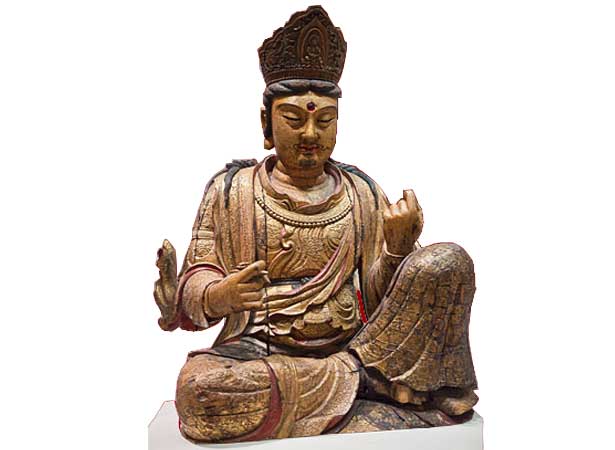
Quick Selection Tool
Before I make my selection with the quick selection tool, I go to top left hand corner and select the setting Add to Layer (the brush w/ plus sign) and this allowed me to just click on an area and add to the selection. The I started the selection in the upper left hand corner and dragged the mouse across his body making sure I have selected every piece of the kid and not the background. If I accidentally selected part of the background I would delete by holding down the Alt key and click on the areas that wanted to delete. The advantage of this tool is that I can quickly select a large area and any area that;s isolated from the main piece. The disadvantage of the quick selection tool is that it may difficult to get the shape edges on the selection.

Lasso Tool
I created the selection with the lasso tool by starting at the very edge of the image I want to select. I then hold down my mouse and carefully draw the selection around the image. I close the selection by releasing the mouse. If I need to add to the selection then I would hold down the Shift key and start from inside the selection and then drag the mouse outside the area I wanted to select and then I let go. If I need to delete a part of the selection, I would hold down the Alt key and then start outside the selection and then move the mouse into the area I want to delete. The advantages of this is that I can manually make the selections and make accurate. The disadvantages of the lasso tool is that you have to keep holding the mouse while making your selection because releasing your finger will cause it to close the selection.


Polygonal Lasso Tool
I made the selection with the polygonal lasso tool by starting in one spot and then in a straight line, I clicked again it would leave a checkpoint. At at the end of every straight line, I would click my mouse and leave a checkpoint. To select a rounded image, I would hold down the Alt key and this temporarily transforms polygonal lasso tool into a standard lasso tool. To close the selection I would click back at the starting point. The advantage of the polygonal lasso tool is that it can used to quickly make selections on images that have many straight lines or sharp edges. The disadvantage of this tool is that it can become difficult to select a rounded image.
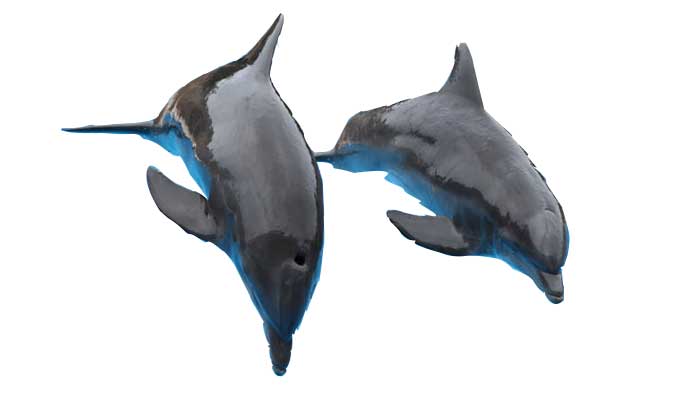
Magnetic Lasso Tool
To create the selection with magnetic lasso tool, I first clicked the laps lock tool so I would get a circle with a cross hair as my selection brush. Then I would start the selection by moving the center of the cross hair over the edge of the selection. Then I would move the mouse along the edge of the image and this would leave checkpoints every so often. I could also manually add a checkpoint by clicking the mouse. To close the selection, I would return to the starting checkpoint and click on it. This would then select everything inside the checkpoints. The advantage of this tool is that it makes easy to select an image because you don't have to hold down on the mouse to make the selection. The disadvantage is that it's difficult to make curves quickly.
Pen Tool
To start the selection with the pen tool, I start by clicking on path settings in the pen tool and starting my first anchor point on the image. Next, I place my second anchor point along the selection. To make a curved selection, I click away from the last point and click and drag the mouse to make the desired curve. After I get the path I want, I close the selection by clicking the first starting point (there would be a little circle to bottom right hand corner of the pen tool to indicate the initial point). After making the path, I would click on the paths tab above the layer and click on the third circle at the bottom of the paths palette. The advantage of the pen tool is that it can make an accurate path of any curve. The disadvantages of the pen tool is that can be very difficult adjusting the curves with the direction handles.

Photoshop Tutorial Sports: Basketball

